Installing Fedora 20 As A Virtual Machine

We have installed Fedora 20 on a VMware virtual machine using the standard DVD image.  Below is a sequence of screenshots from the install.

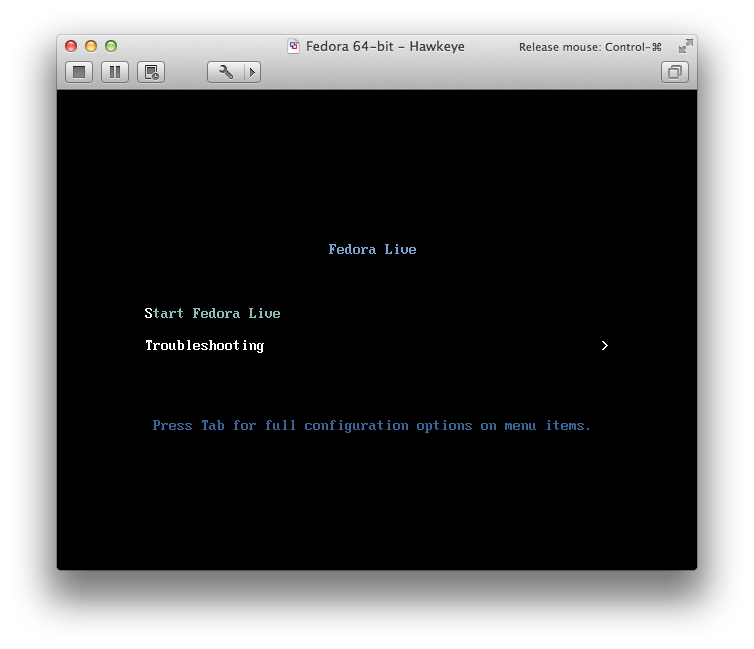
First, we turn on the VM with the Fedora 20 DVD image attached to the virtual DVD device.  We then choose the Fedora Live boot sequence:

fedora-01

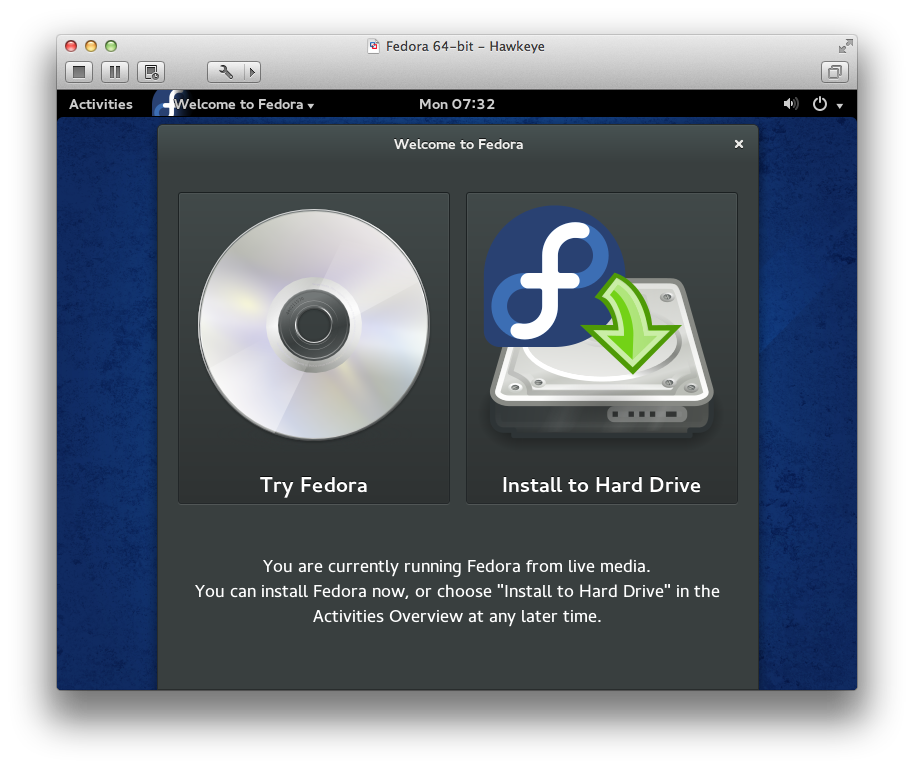
Once we have finished booting the Fedora Live image, we select “Install to Hard Drive”:

fedora-02

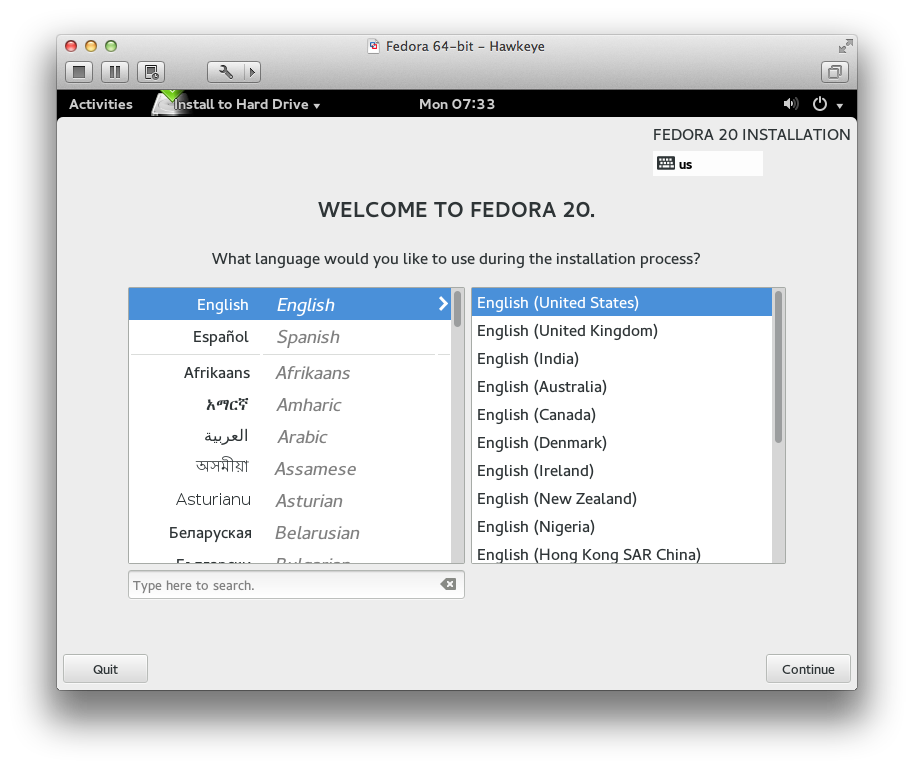
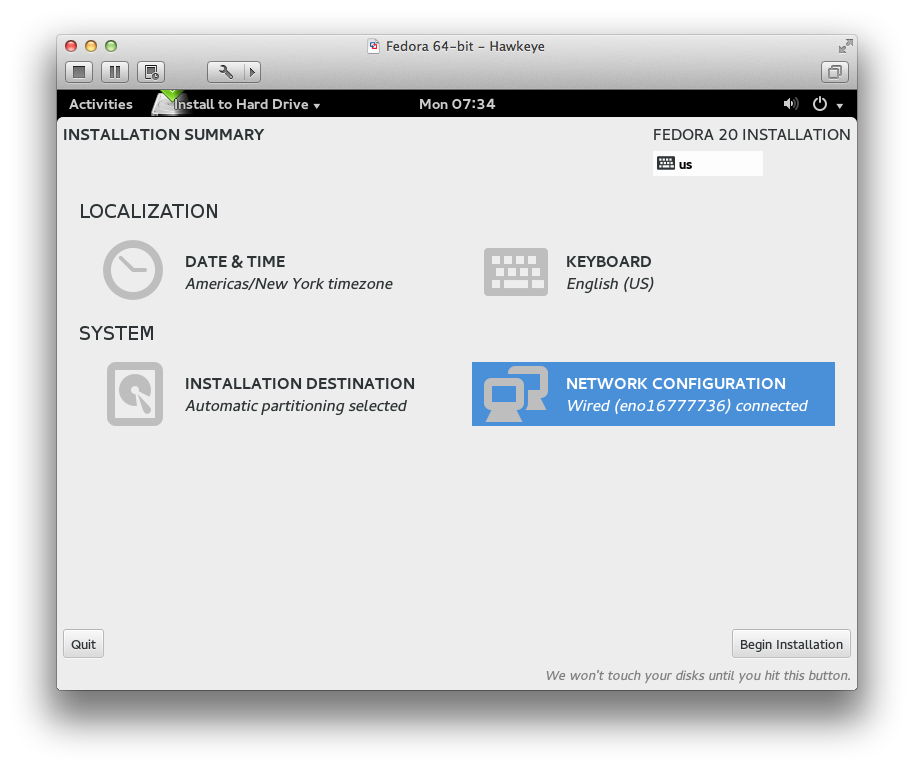
We then proceed through the installation dialog windows:

fedora-03

fedora-04

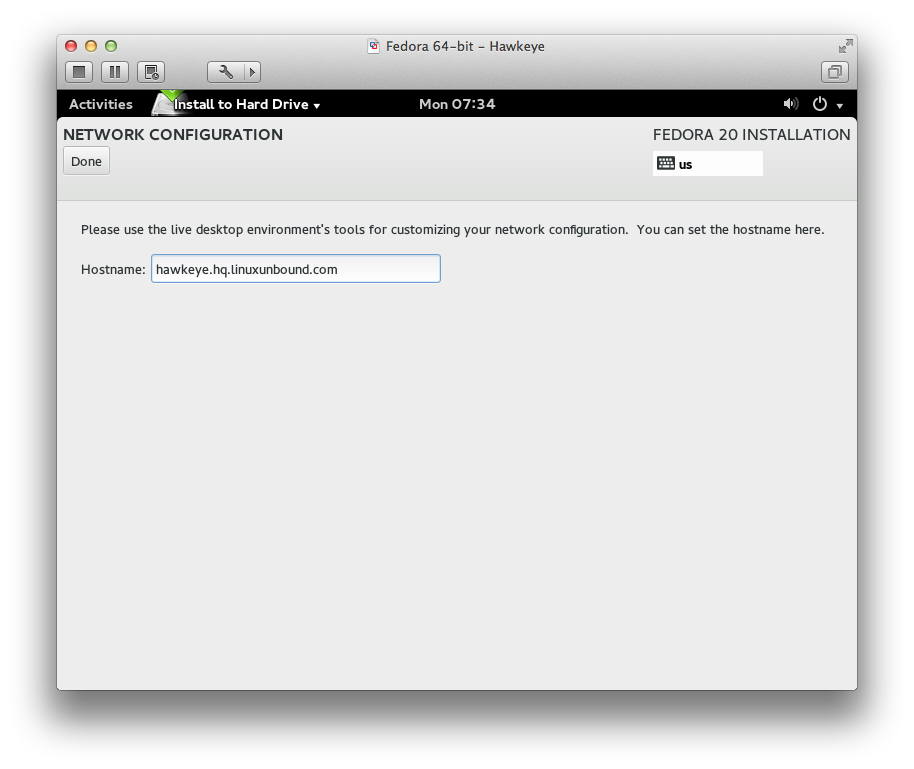
We then specify the fully qualified domain name (FQDN) for hostname.  Note that we usually do this for Red Hat derived distributions like CentOS and Fedora.

fedora-05

fedora-06

[GARD align=”center”]

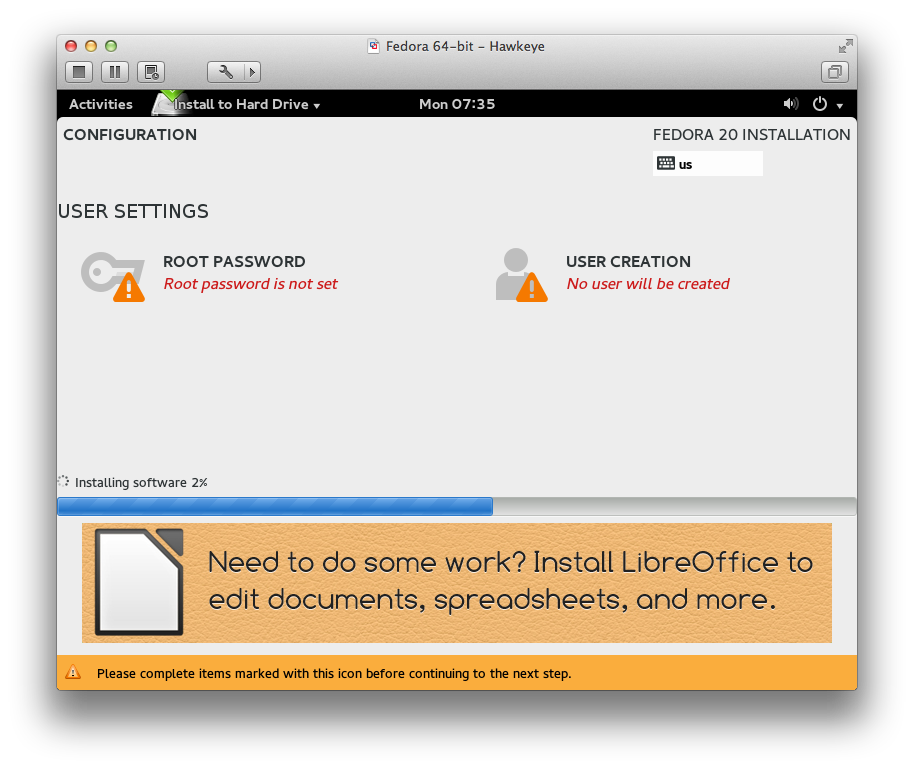
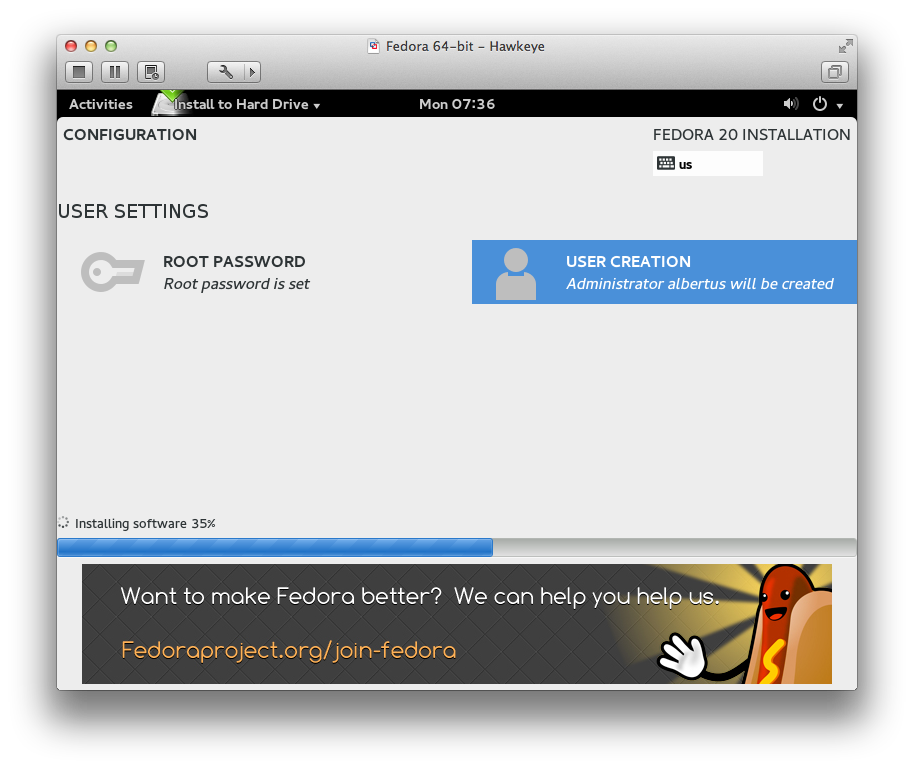
Here, we set the root password and create a user account:

fedora-07

Note that we appoint the user to be an administrator, causing the installation to add the user to the wheel group.  Note that the installation runs while you set the root password and create a user.

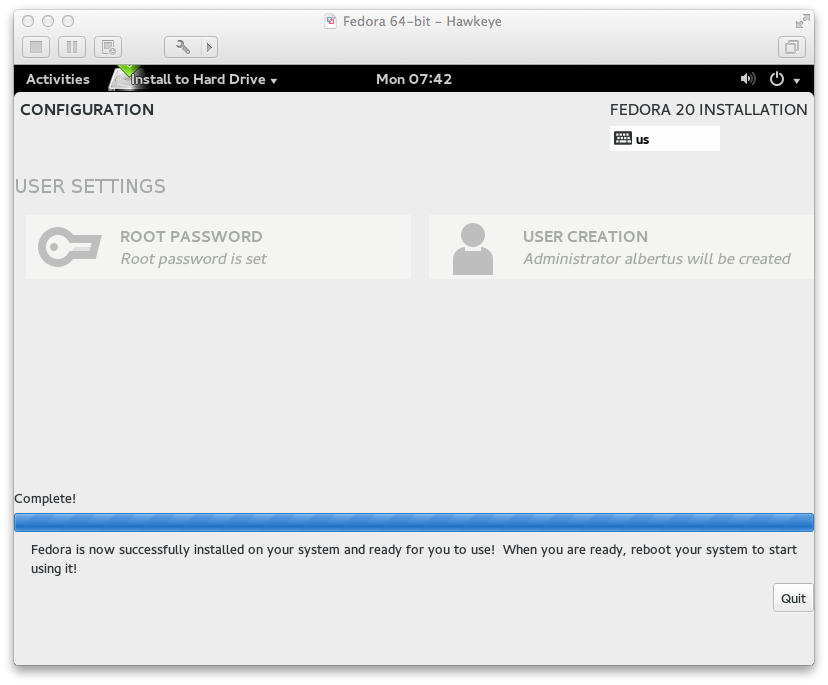
After the software installation is finished, we get the screen below:

fedora-08

It’s time to reboot….

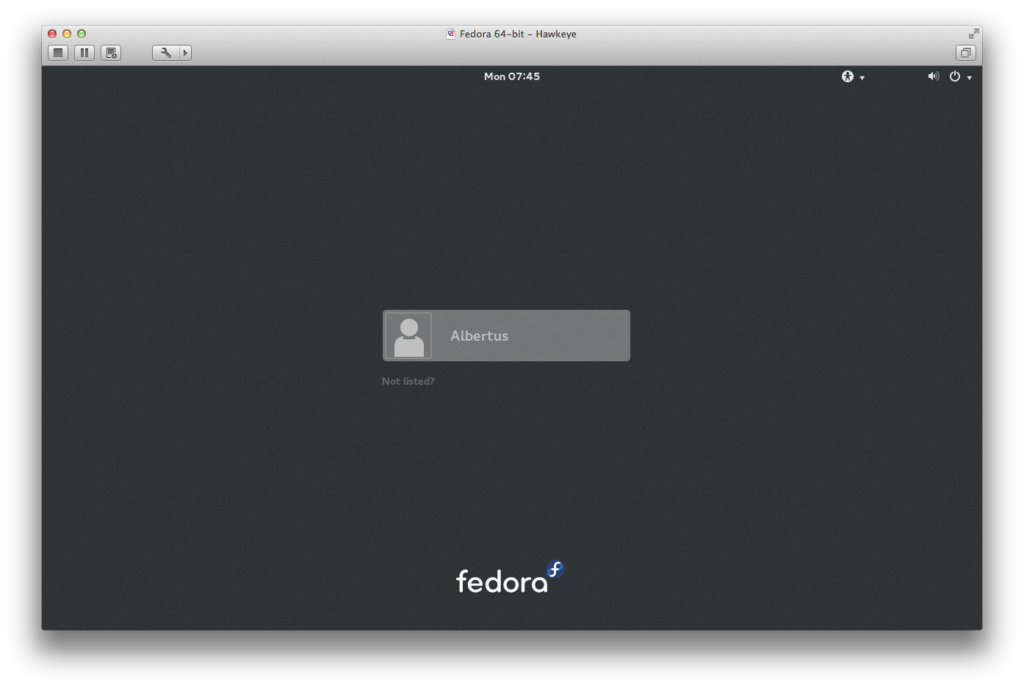
The login screen show up and displays the username created earlier.  Click on this and the screen will prompt for the user’s password.

fedora-09

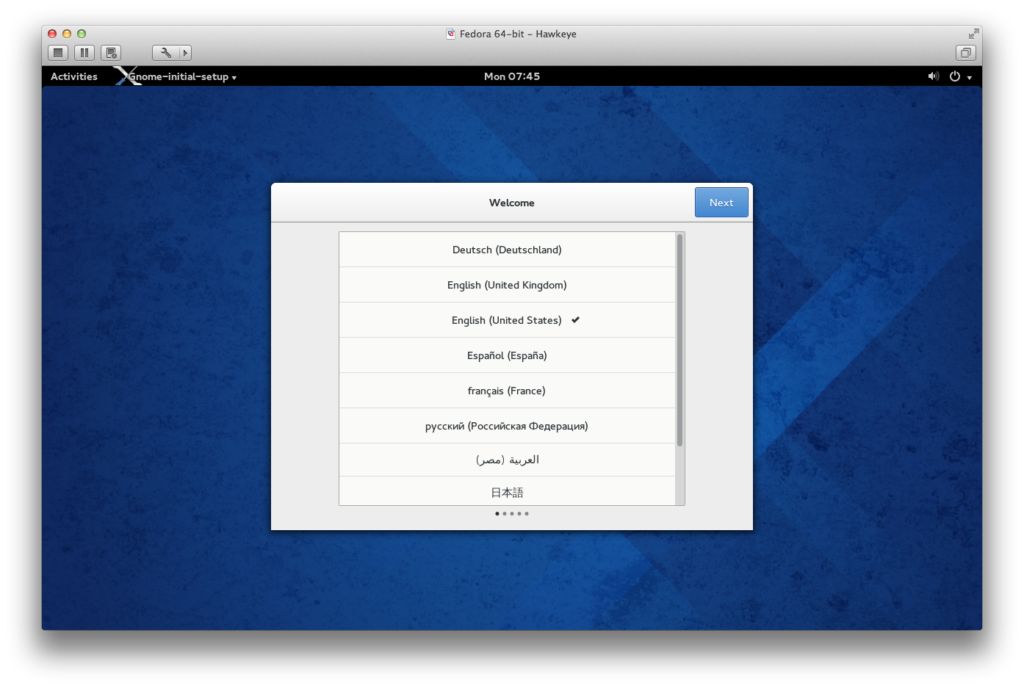
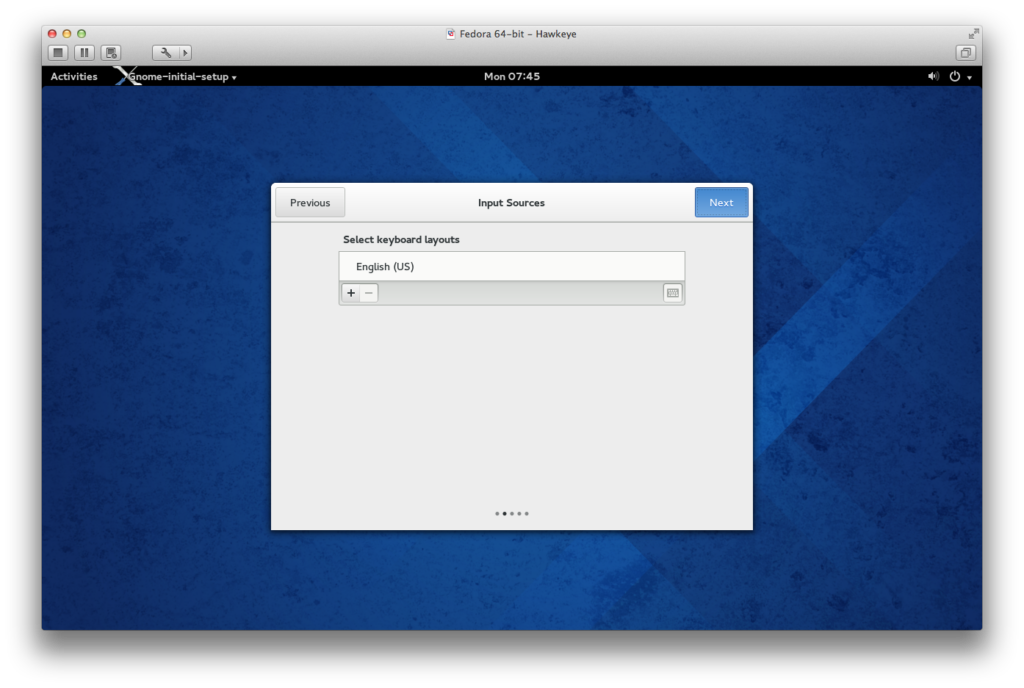
After logging in, the installation and configuration continues….

fedora-10

fedora-11

fedora-12

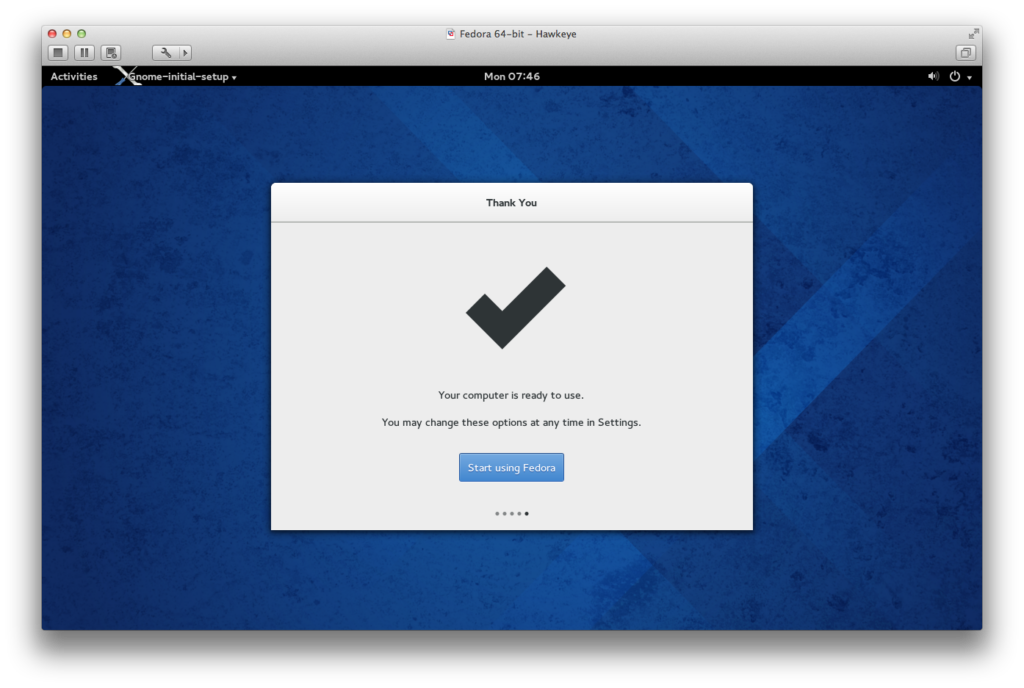
Once it’s ready to use, we can now use the operating system.

fedora-13

Below is a preview of the Gnome 3 shell.  Clicking on “Activities” brings up the screen below.  Note that there is a search box where you can type in the name of an application that you would want to run.

fedora-14

Here again is a typical session with a web browser (Firefox) running:

fedora-15

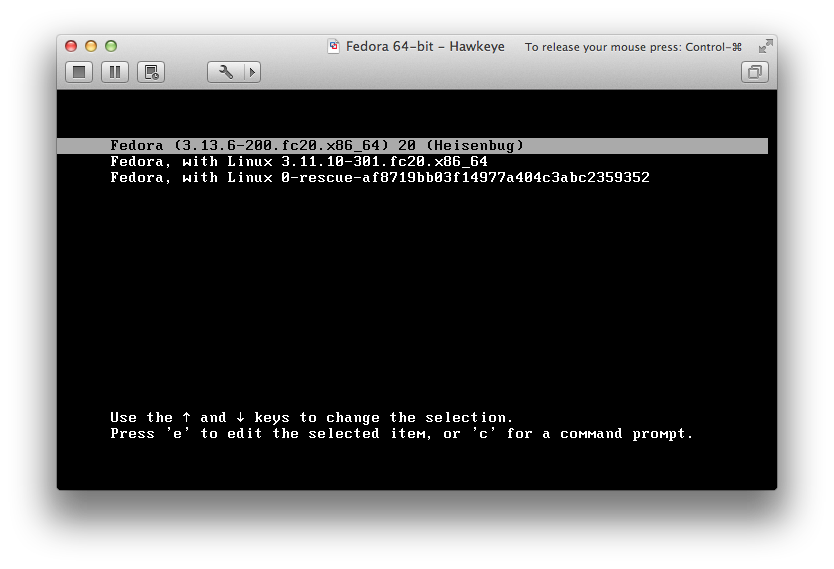
Let us now reboot.  The GRUB screen is seen below:

fedora-16

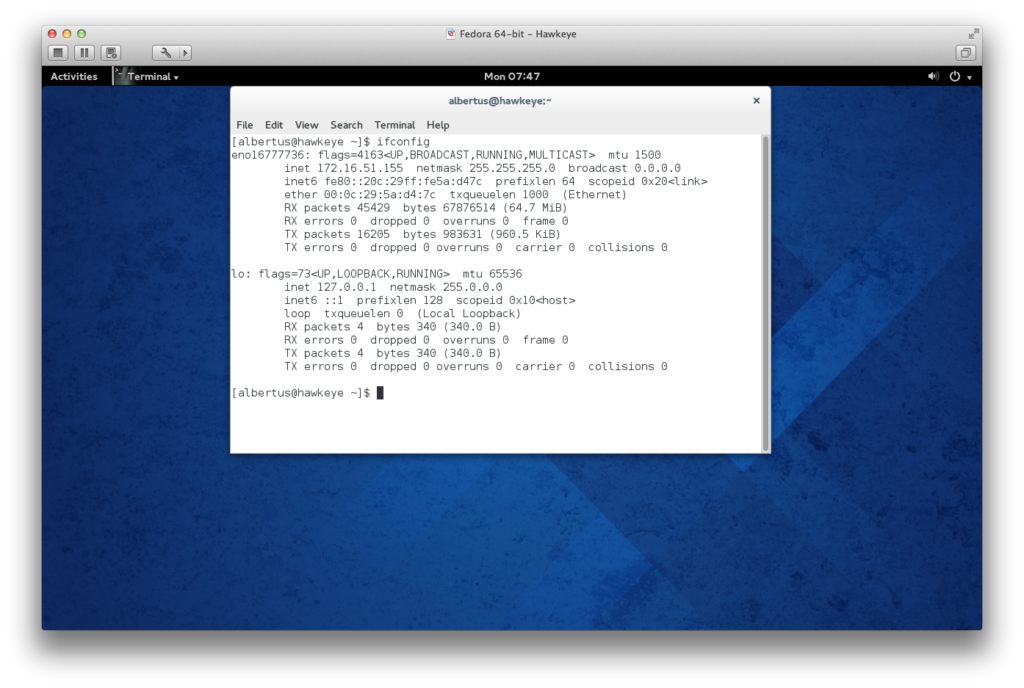
We log in as usual and go to settings in order to change networking parameters:

fedora-17

The networking configuration panel looks like this:

fedora-18

We specify new parameters…..

fedora-19

Here is a typical package update session using yum:

fedora-21

If you’re looking for the upcoming CentOS 7, it is still under development.  You can, however, sign up at Red Hat and try the Red Hat Enterprise Linux 7 Beta.  RHEL 7 Beta is based on latter versions of Fedora (i.e. Fedora 18, 19, 20).

Like Fedora 20, RHEL 7 Beta uses systemd in place of SysV init. It feels faster, though not necessarily optimally fast.  When creating start-up “scripts”, you need to learn how to write systemd configuration files which reside in /usr/lib/systemd.

We’ll talk about systemd in a future article.

PHP 5.5.0 and Apache 2.4.4 on CentOS 6.4

In June of 2013, PHP 5.5.0 was released as suitable for production use.  Our internal site used Apache httpd and MediaWiki to test PHP 5.5.0.  Our OS was CentOS 6.4 (64-bit).

We compiled PHP 5.5.0 from scratch, with all the prerequisite packages downloaded and installed, using the following configuration:

#! /bin/sh
#
# Created by configure

'./configure' \
'--enable-intl' \
'--enable-cgi' \
'--with-apxs2=/opt/apache/bin/apxs' \
'--with-pear' \
'--with-libdir=lib64' \
'--with-curl=shared' \
'--with-openssl=shared' \
'--prefix=/opt/php5' \
'--with-gdbm=shared' \
'--enable-dba=shared' \
'--with-db4=shared' \
'--enable-ftp' \
'--with-gd=shared' \
'--with-imap=shared' \
'--with-kerberos=/usr' \
'--with-imap-ssl=shared' \
'--enable-sockets' \
'--enable-zip' \
'--with-jpeg-dir=/usr' \
'--with-png-dir=/usr' \
'--with-xpm-dir=/usr' \
'--with-zlib' \
'--with-zlib-dir=/usr' \
'--with-bz2=shared' \
'--enable-exif' \
'--enable-soap' \
'--with-gmp' \
'--with-mcrypt=/usr/local' \
'--with-mhash' \
'--enable-mbstring' \
'--with-mysql=mysqlnd' \
'--with-mysqli=mysqlnd' \
'--with-pdo-mysql=mysqlnd' \
'--with-snmp=shared' \
'--enable-wddx' \
'--enable-pcntl' \
'--with-xmlrpc=shared' \
'--with-xsl=shared' \
'--with-ldap=shared' \
'--with-ldap-sasl' \
'--with-libedit' \
'--with-readline' \
'--with-pgsql=/usr/local/pgsql/bin/pg_config' \
'--with-pdo-pgsql=/usr/local/pgsql/bin/pg_config' \
"$@"

The configuration above assumed the following:

Other packages which were required by PHP were installed from either the official CentOS yum repository or from each package’s respective official source.

[GARD align=”center”]

The above configure script was saved as config-php.sh and placed above the PHP source directory.  The following commands were issued to start compiling and testing PHP:

cd php-5.5.0
../config-php.sh
make
make test

After the PHP tests were completed, the results were installed in /opt/php5:

sudo make install

In our setup, we used mod_fcgid to execute PHP scripts. See the previous article on installing PHP 5.4 for more information.

To verify that PHP is configured correctly, create a PHP script that contains the following:

<?php

phpinfo();

?>

The above script should generate something similar to this:
PHP Info

As you scroll down, you’ll see more information about the features of your particular PHP installation.

Remember to edit /opt/php/lib/php.ini to set certain variables properly. Here’s a sample php.ini file:

; Choose your preferred time zone and set it here
date.timezone = UTC

; Load extensions (see /opt/php5/lib/php/extensions)
; that you need.
extension = bz2.so
extension = curl.so
extension = dba.so
extension = gd.so
extension = imap.so
extension = ldap.so
extension = openssl.so
extension = snmp.so
extension = xmlrpc.so
extension = xsl.so

You should see information about these extensions in the phpinfo() output.